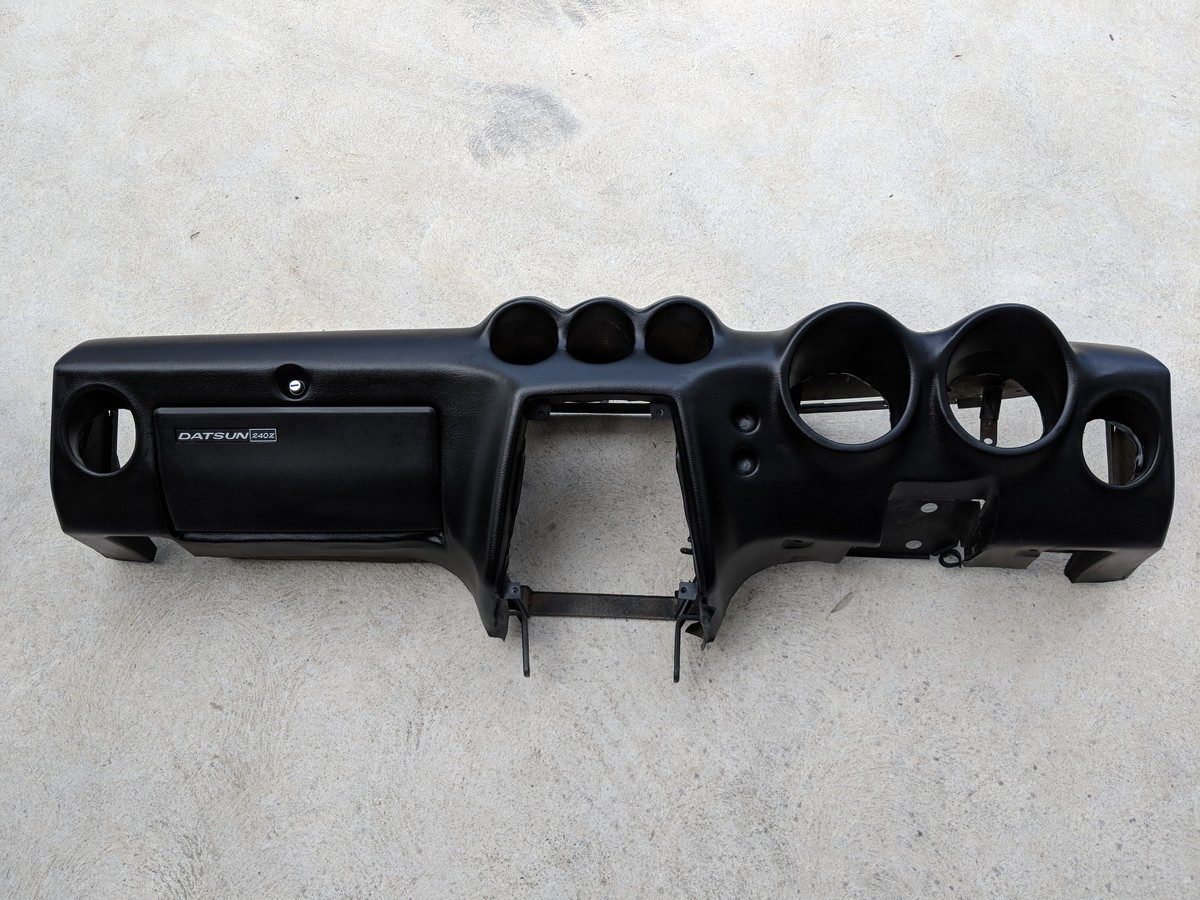
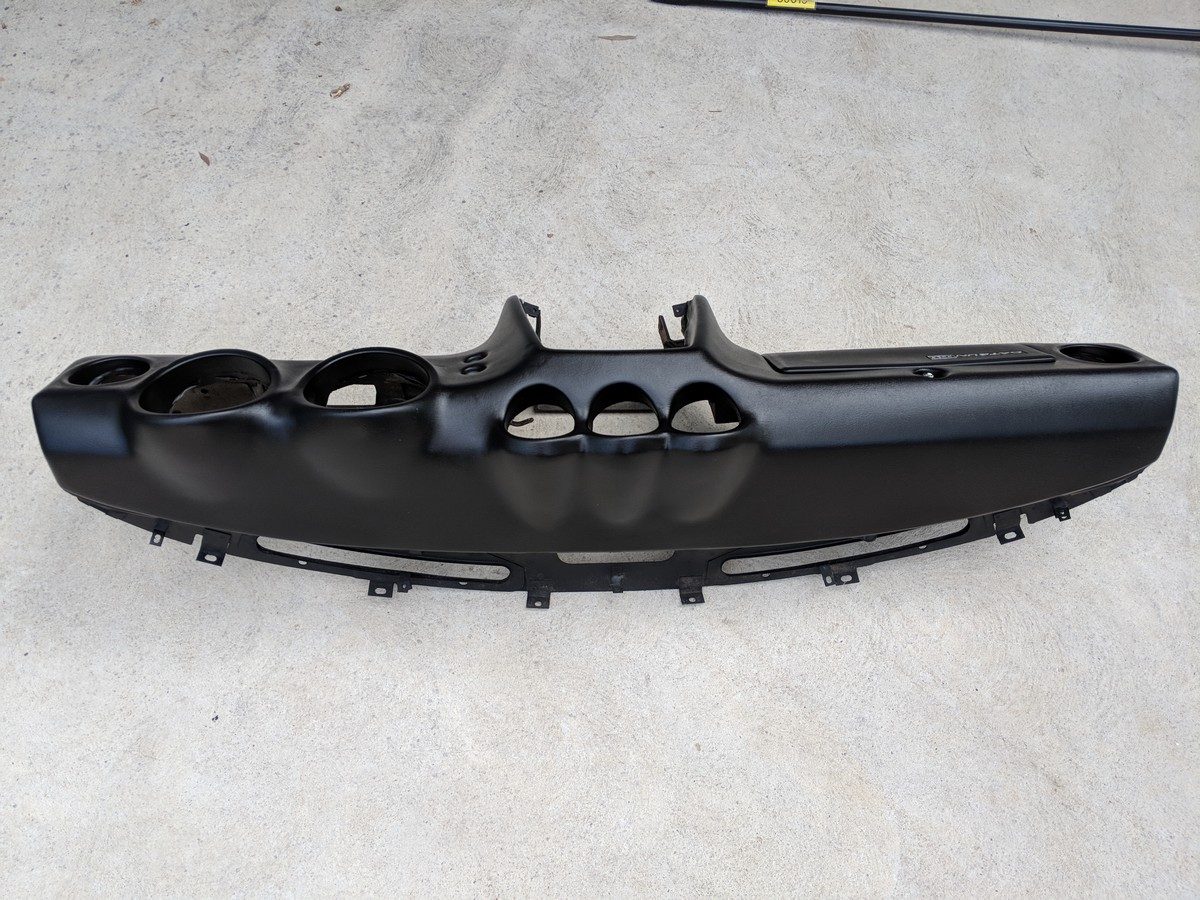
Like many jobs, the dash restoration started many moons ago. It was in fact March 2014 when I sent it to The Dashboard Doctor. They did a fantastic job recovering it and it sat in its box wating for all the other pieces to be ready.
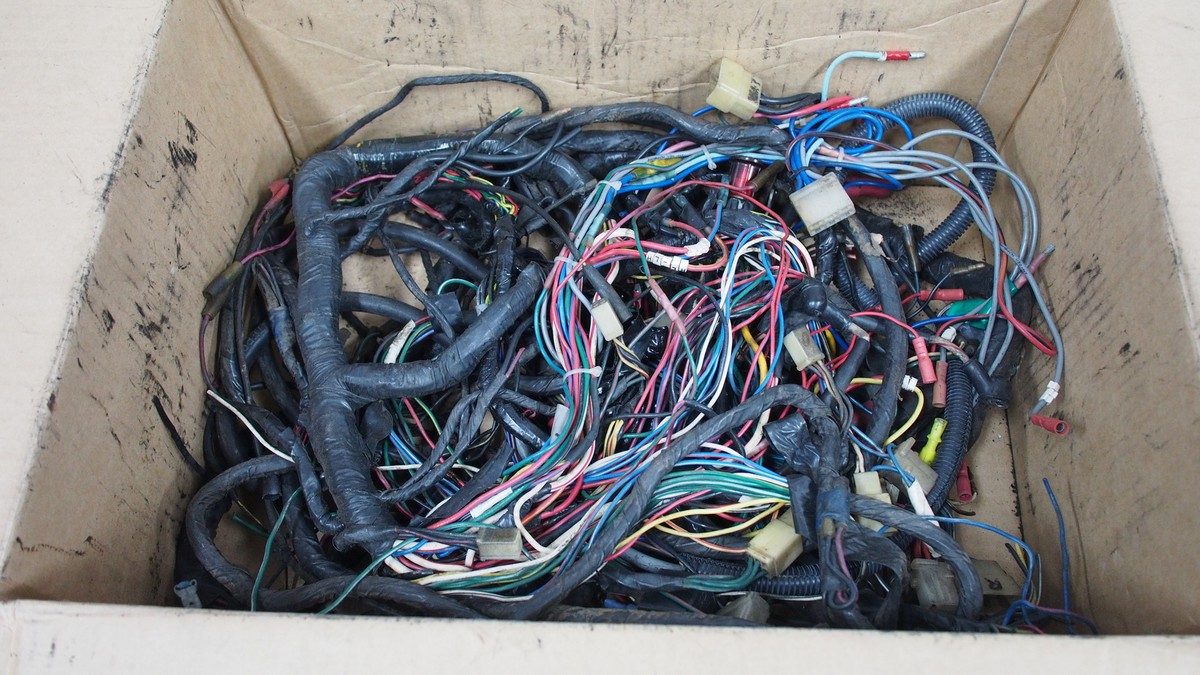
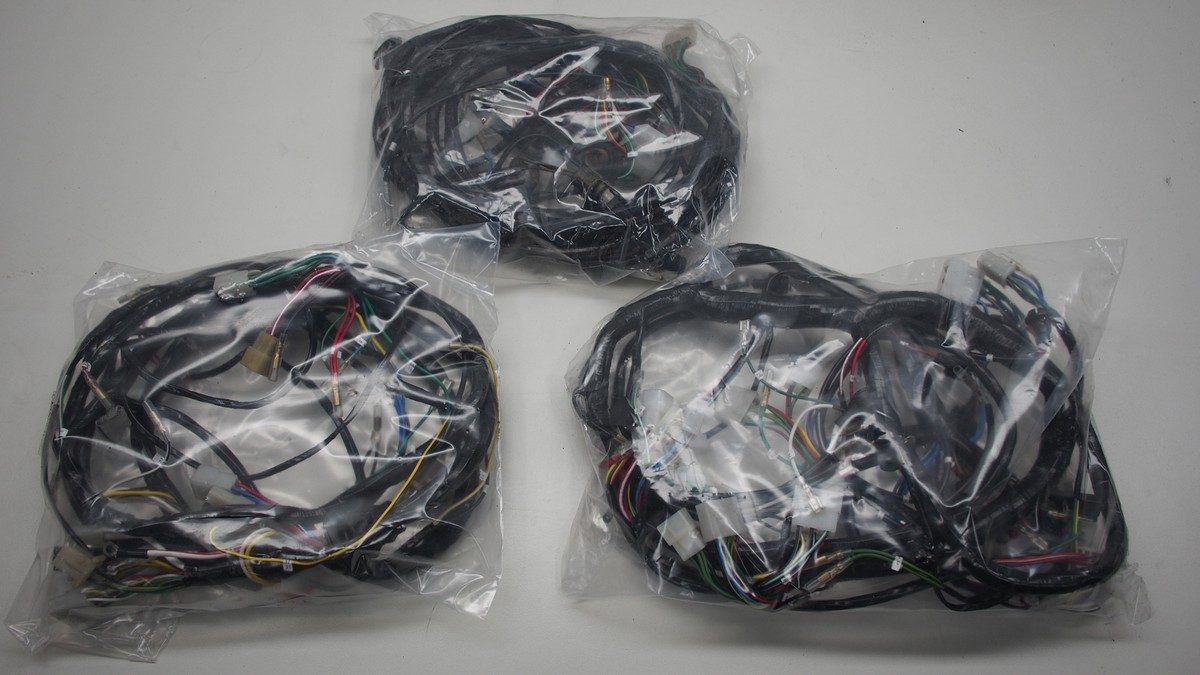
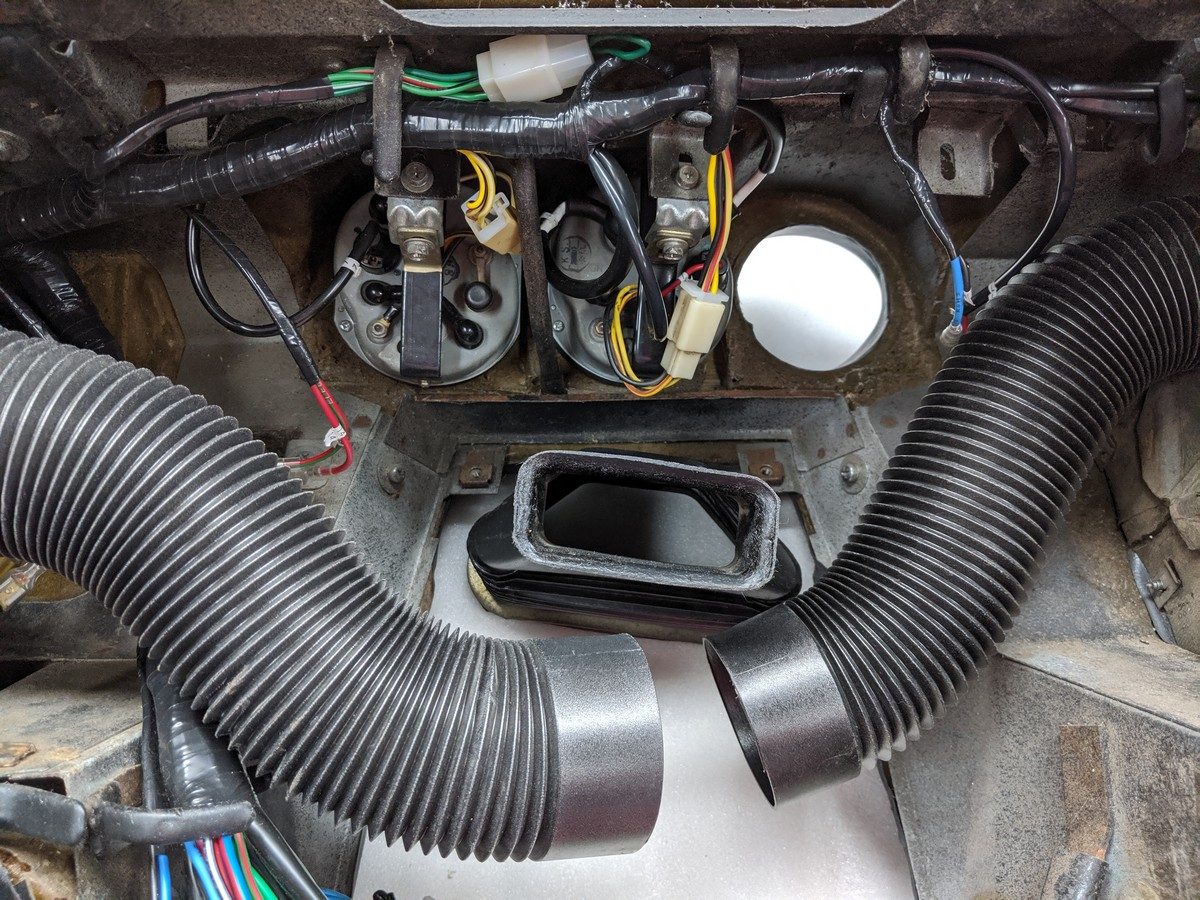
Later in 2014 the wiring was sent to Vintage Wiring Harness who took a touch under two years to complete the restoration due to a number of circumstances. In any case, the results are fantastic as I found out this year when I went to install the 3 harnesses. The dash harness fell in place and while reference photos were nice to have, all of the new connectors and labels provided by VinWire were easy to work with and practically connected themselves.


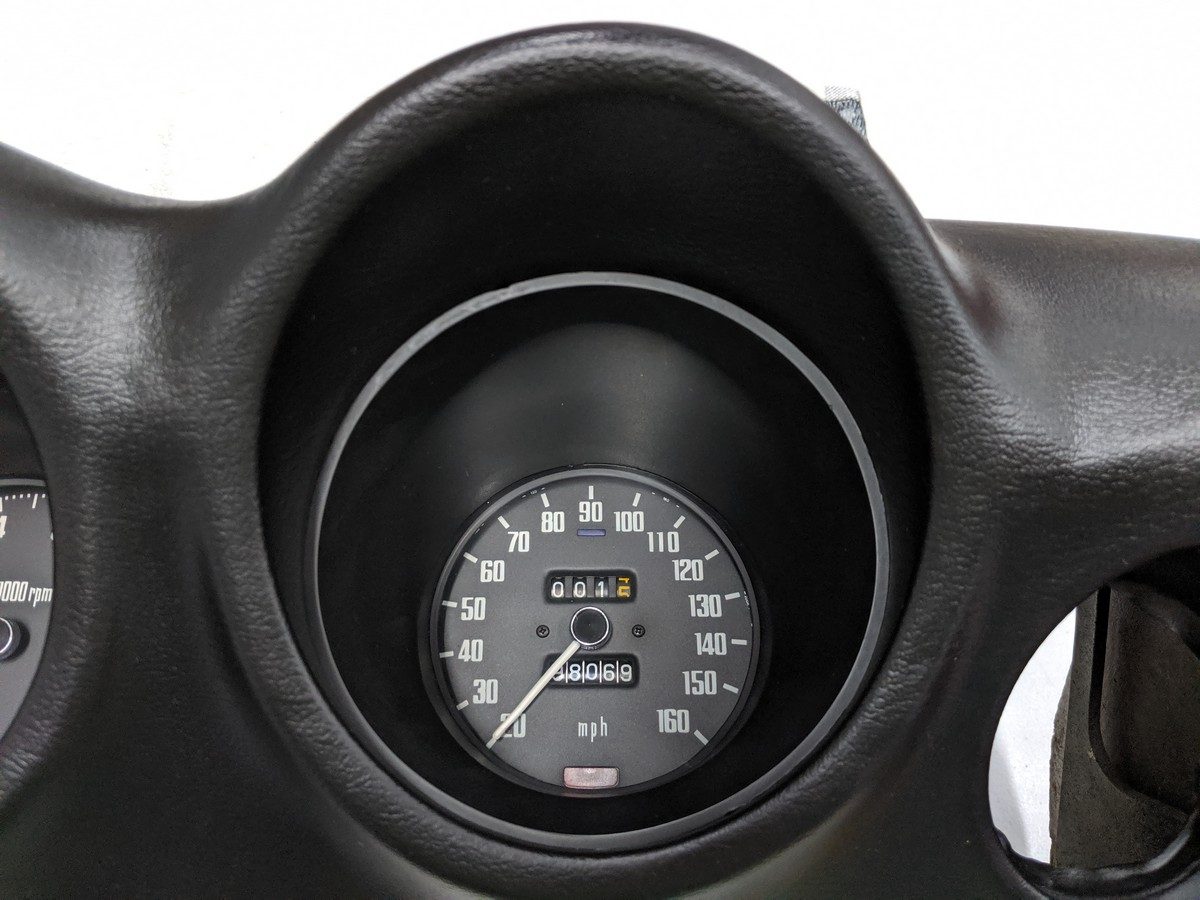
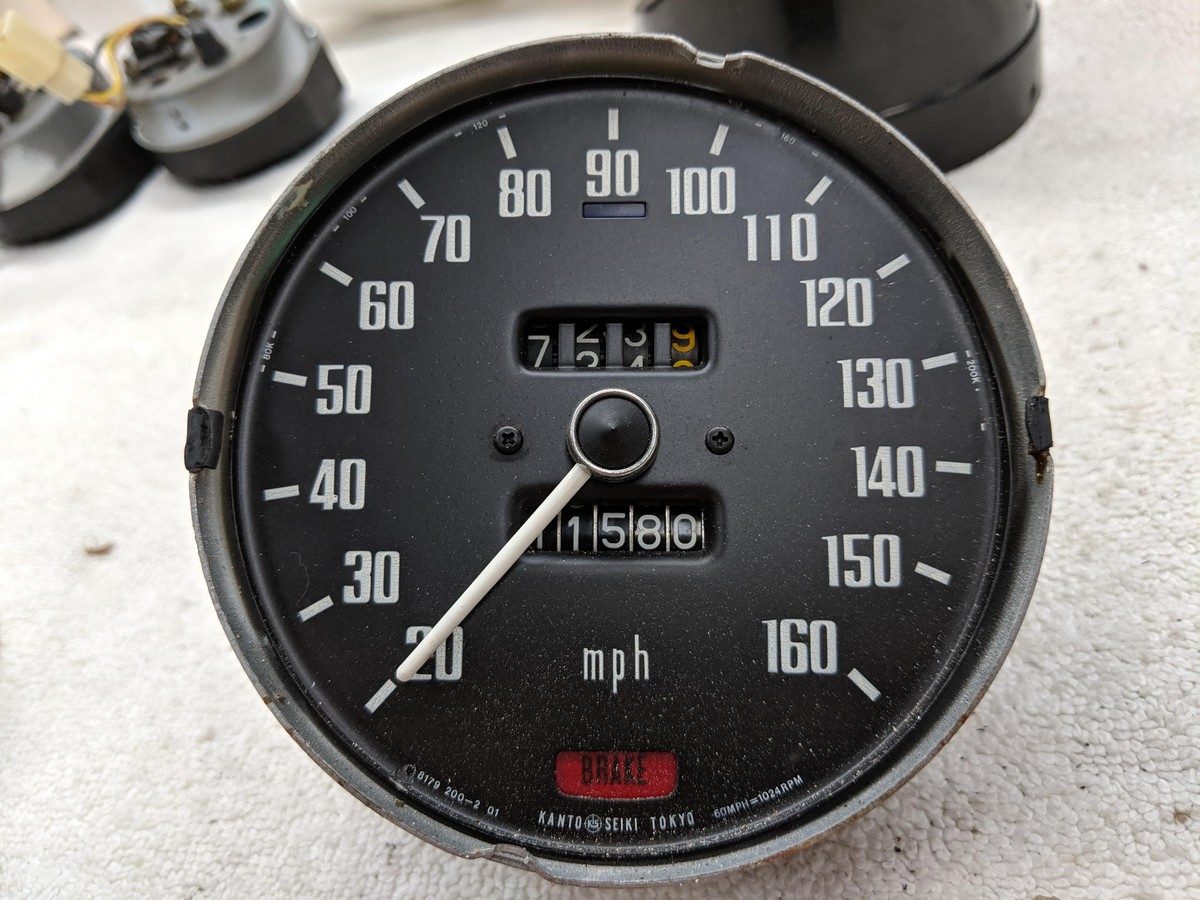
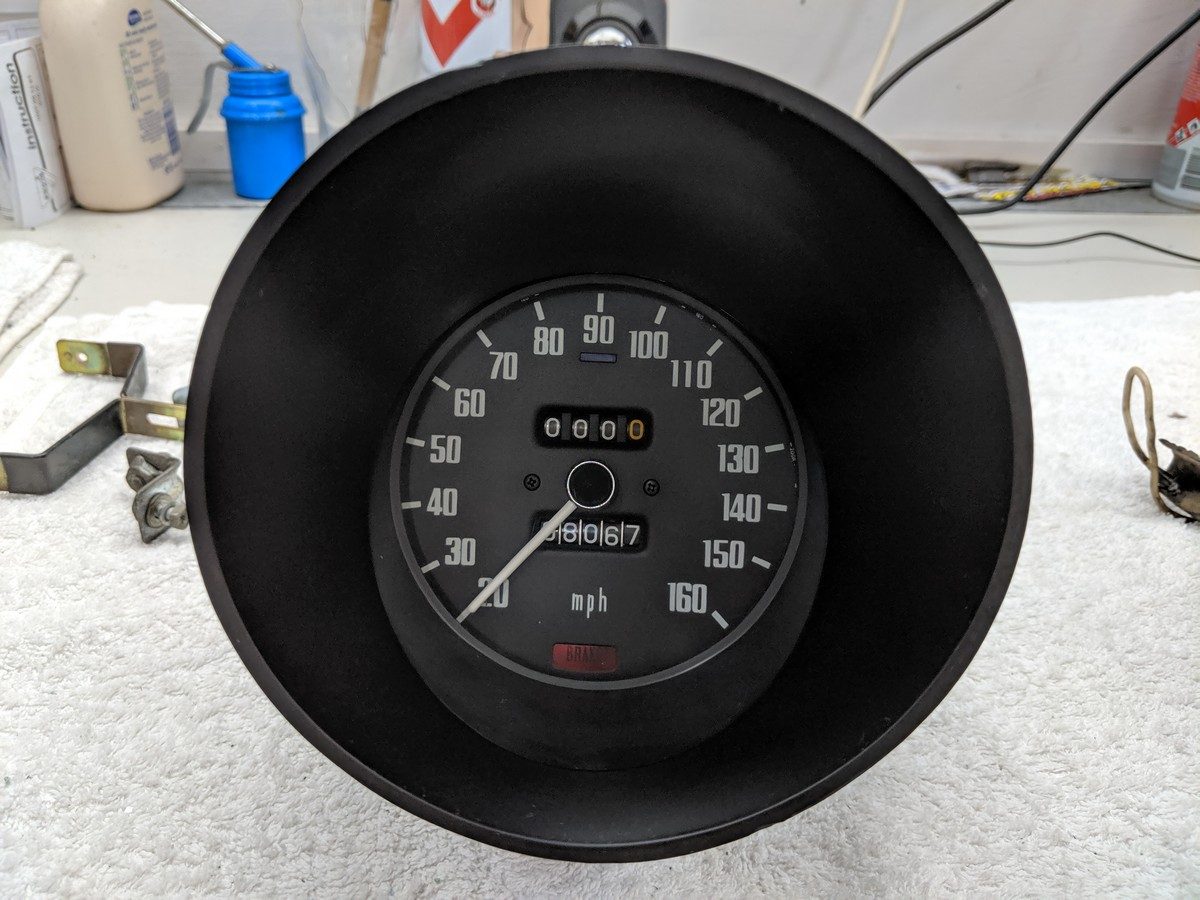
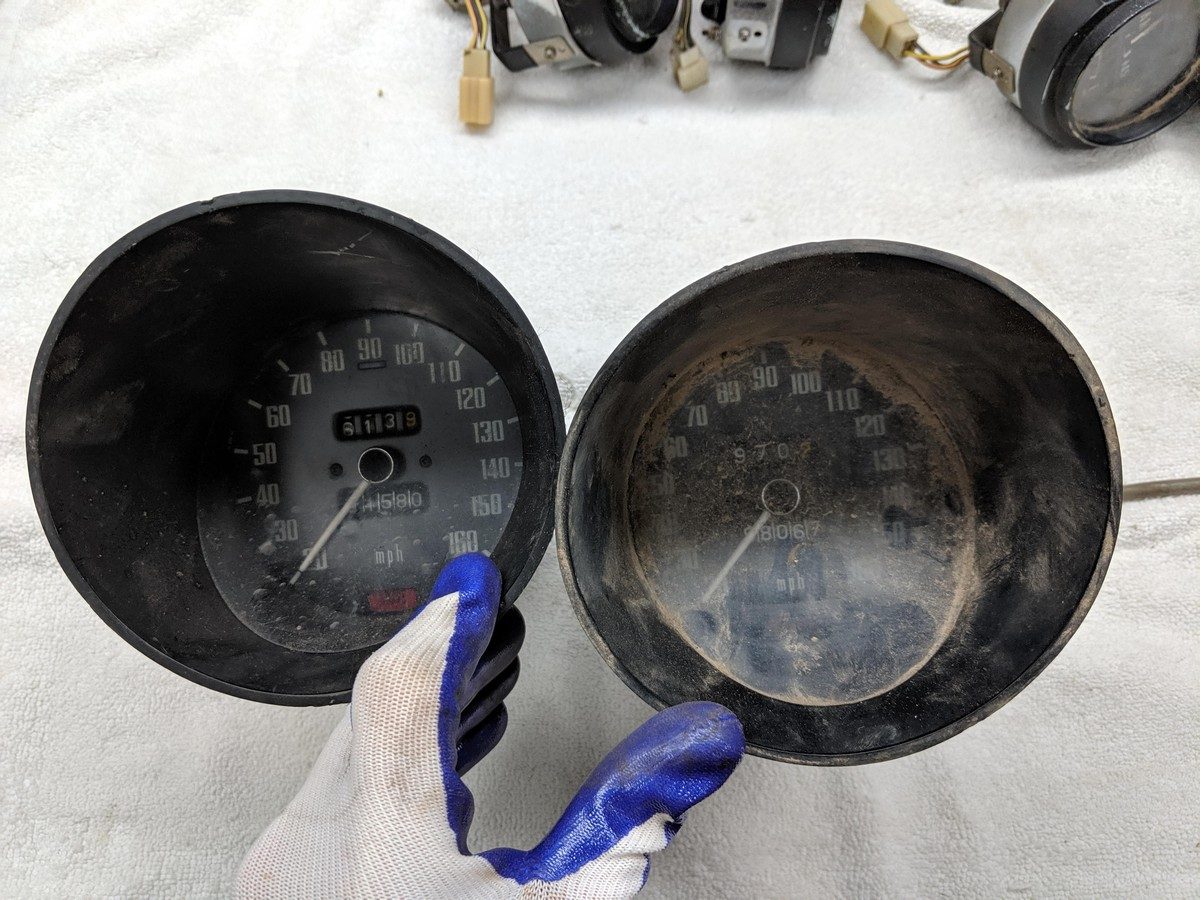
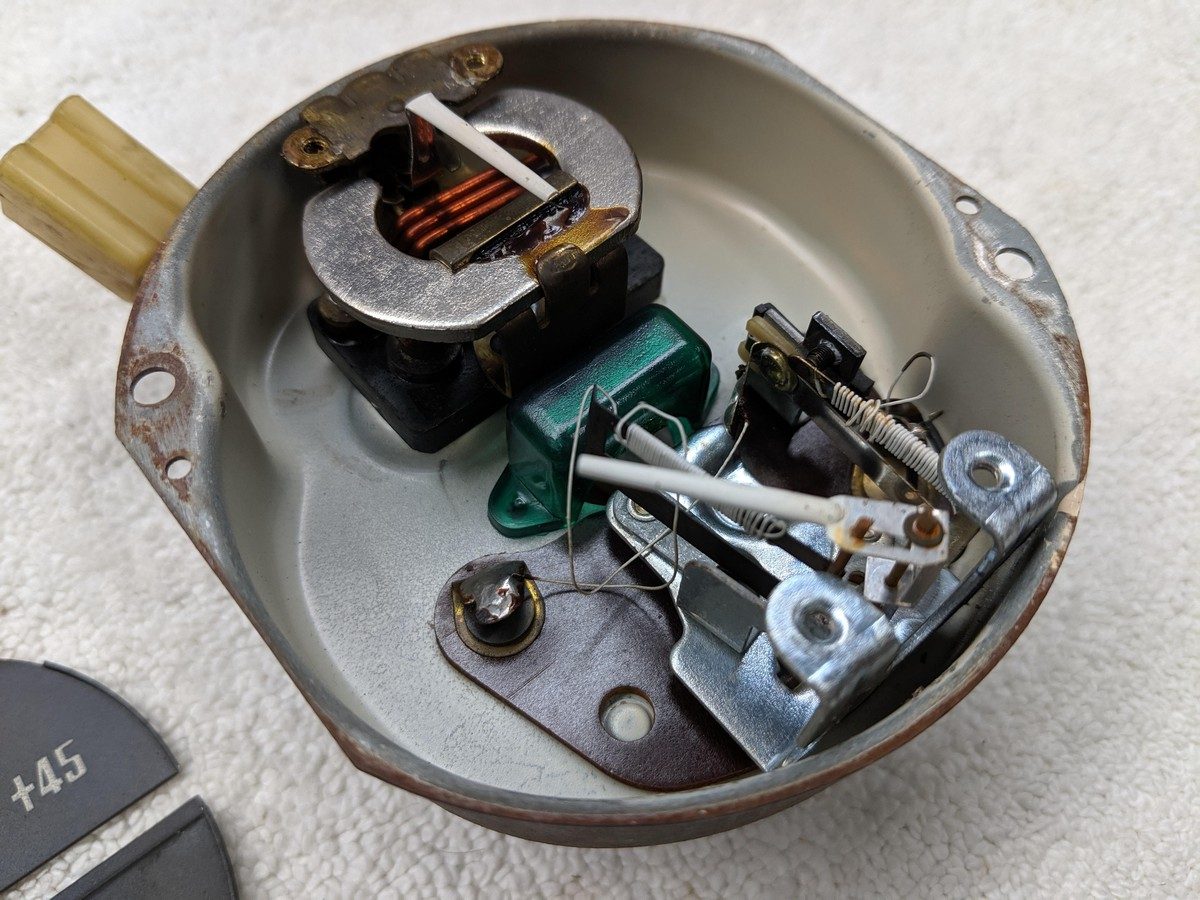
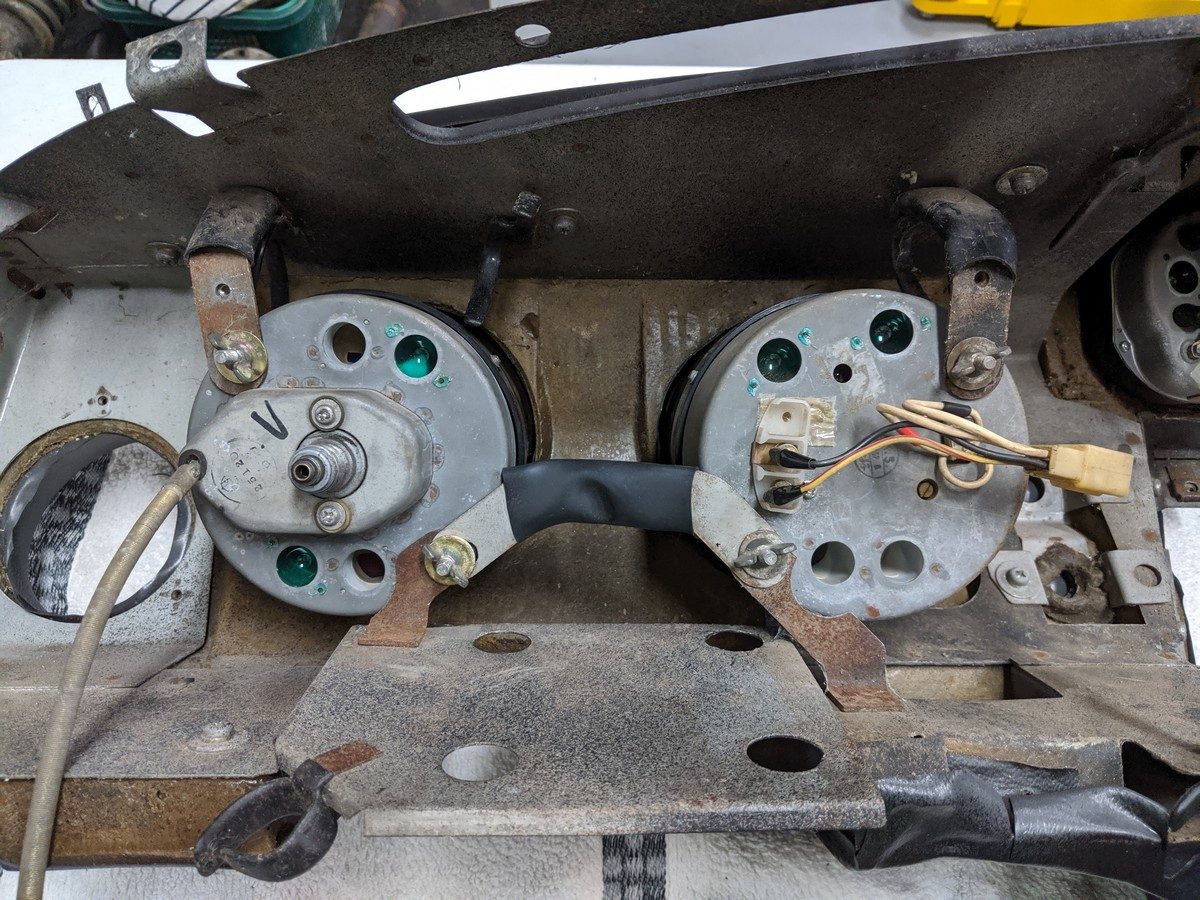
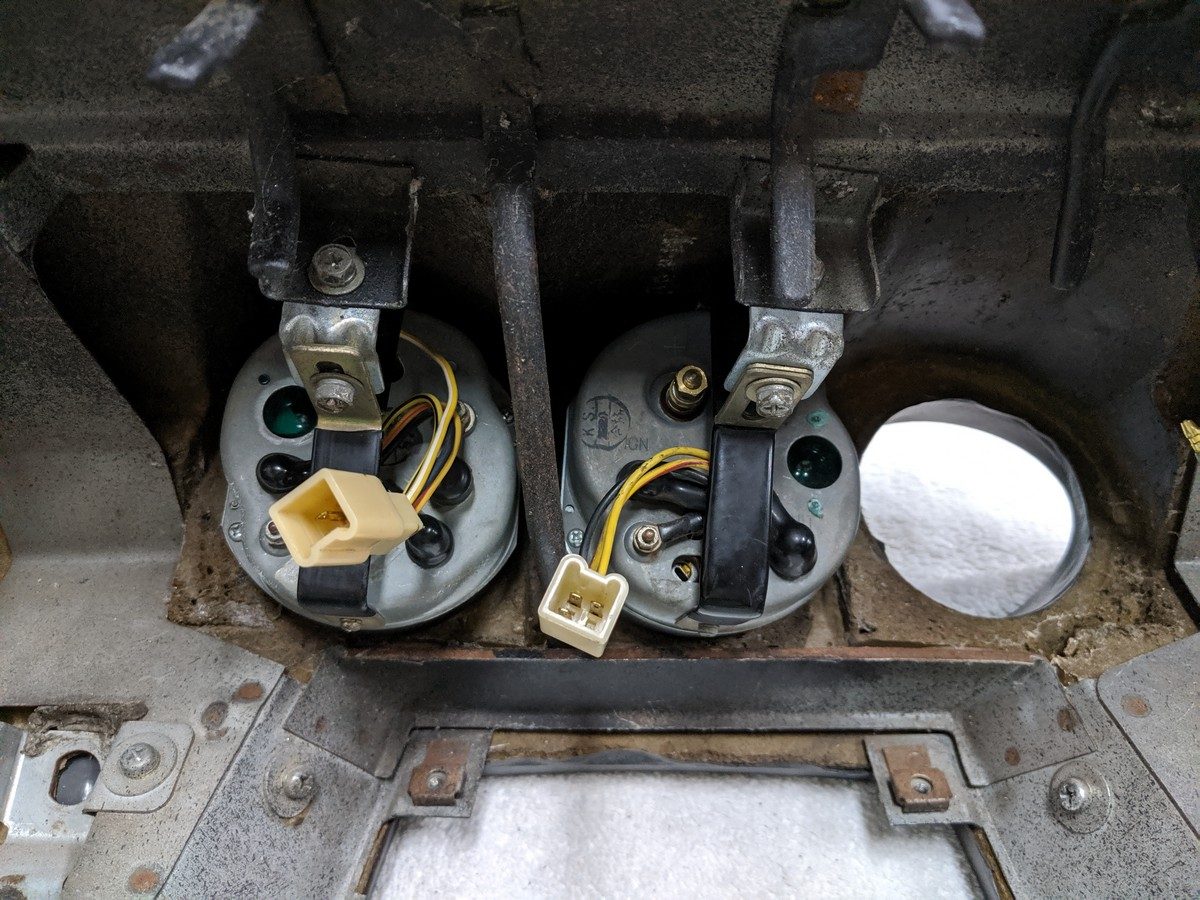
The gauges were taken apart, gently cleaned, and tested. The curved lens was polished with a Novus plastic 3 stage kit.

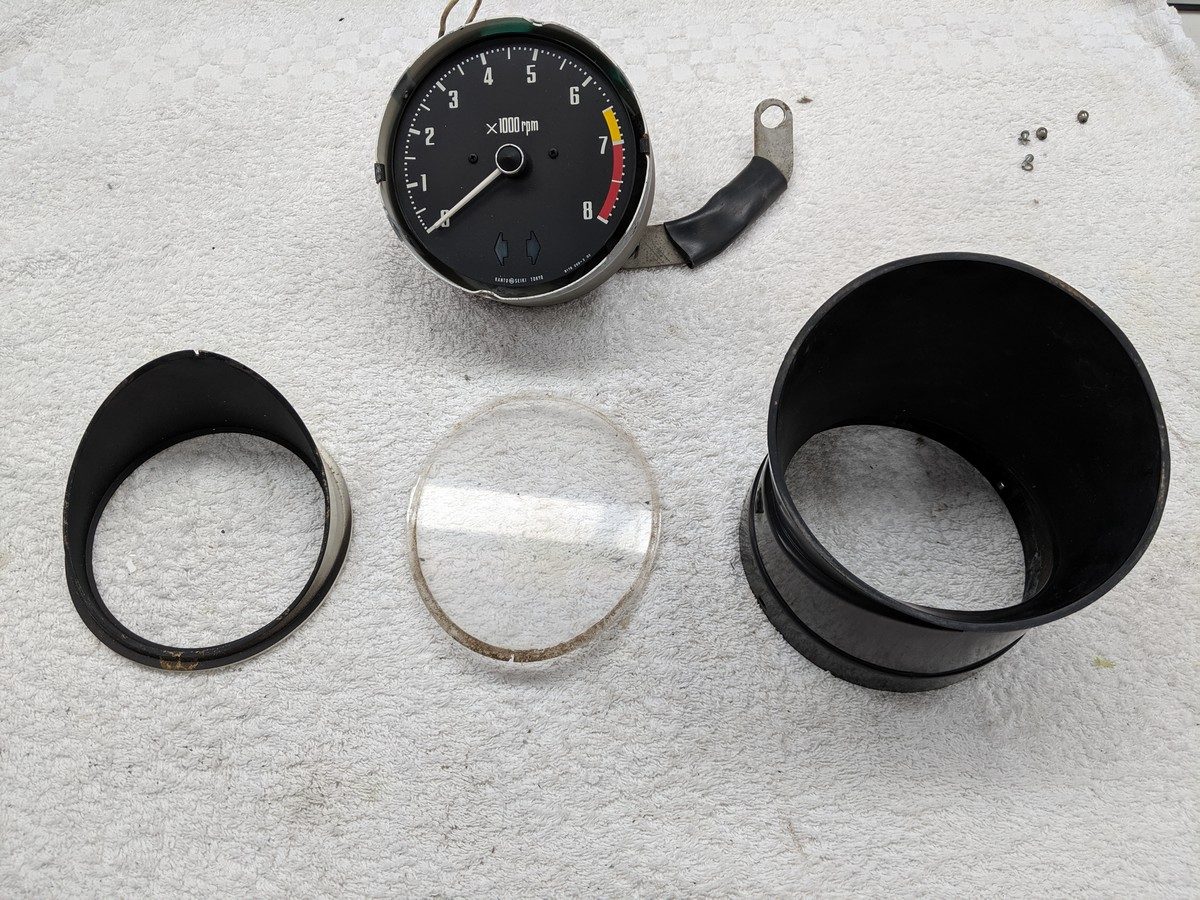

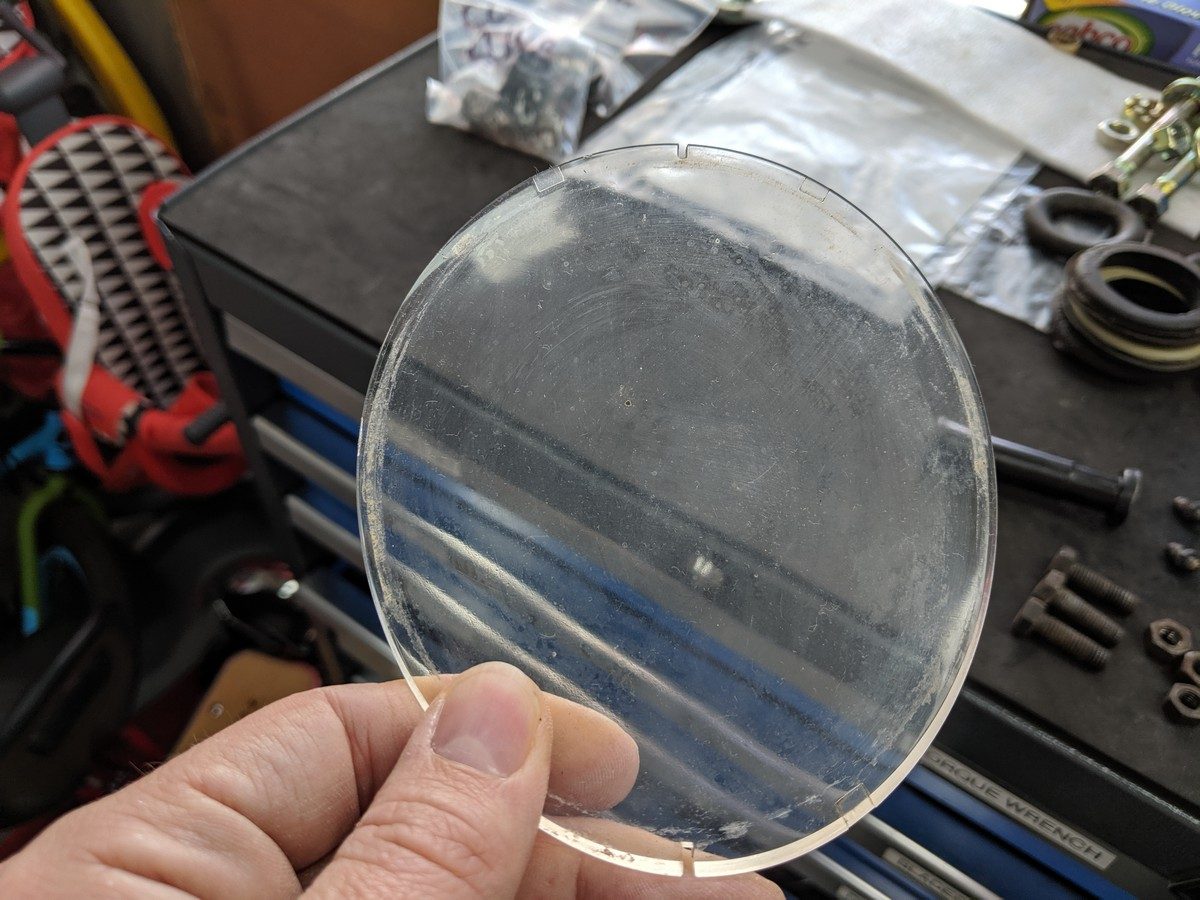


The smaller gauges were a bit more work. I ended up removing the melted plastic pins holding the perpex lens in place and replacing it with a new one cut at my local laser cutter. They came out much nicer than simply cleaning the lenses and it also enabled me to paint the inside metal frame that splits the gauge.
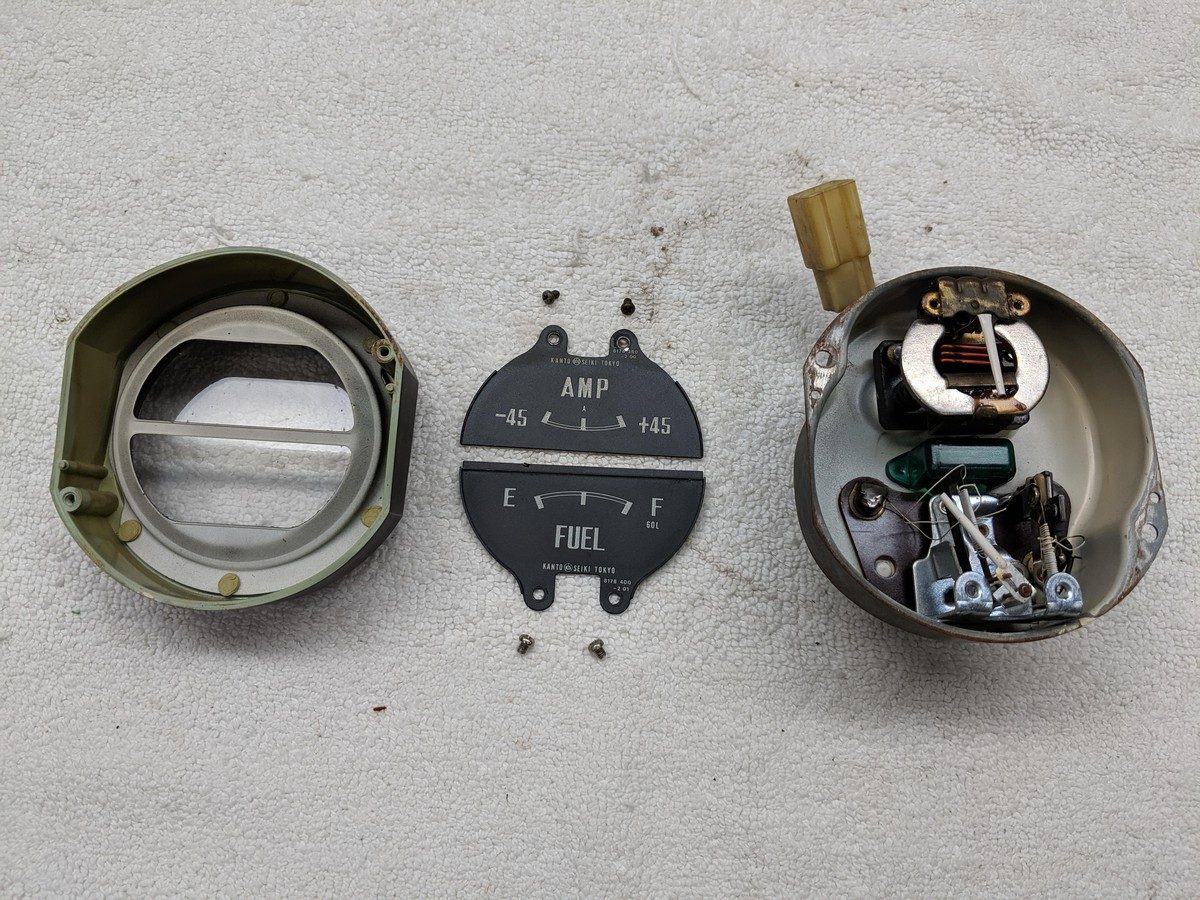
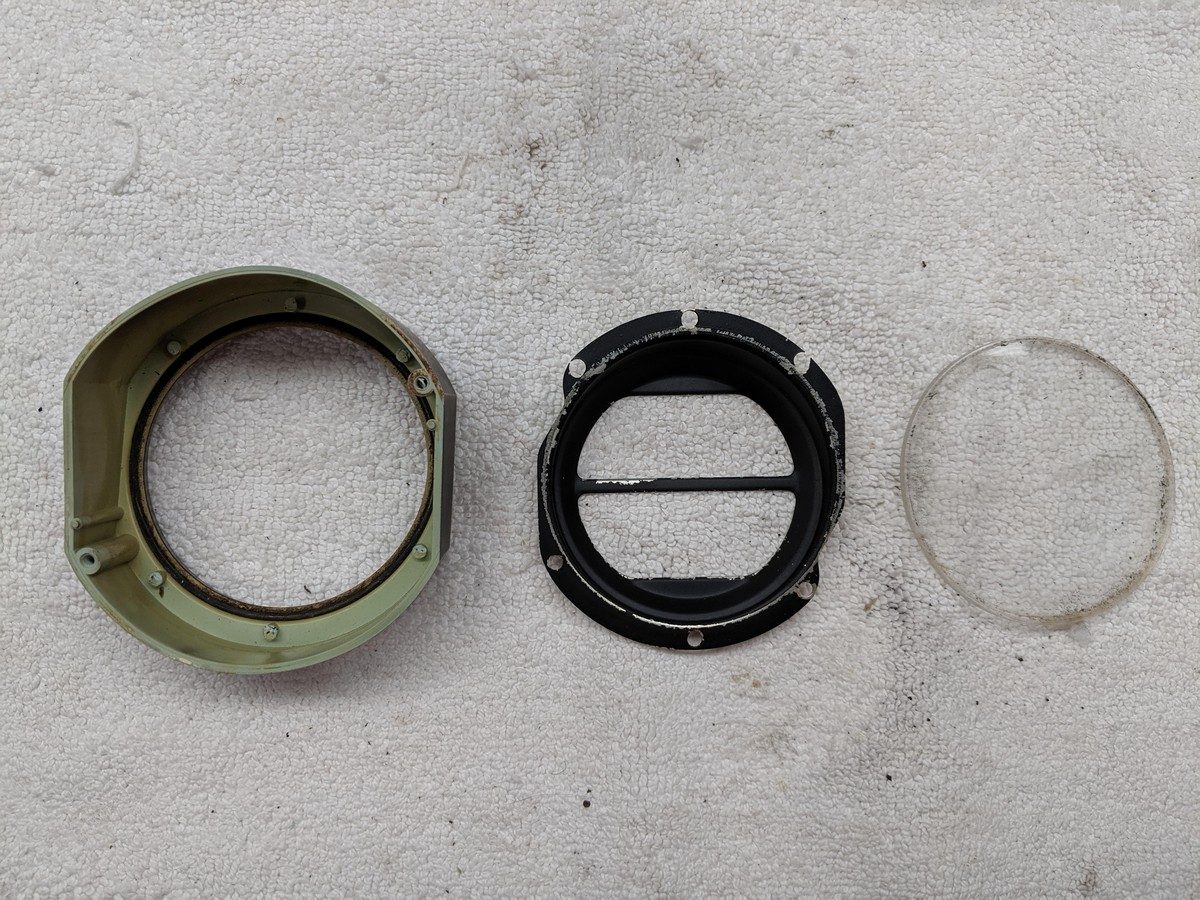

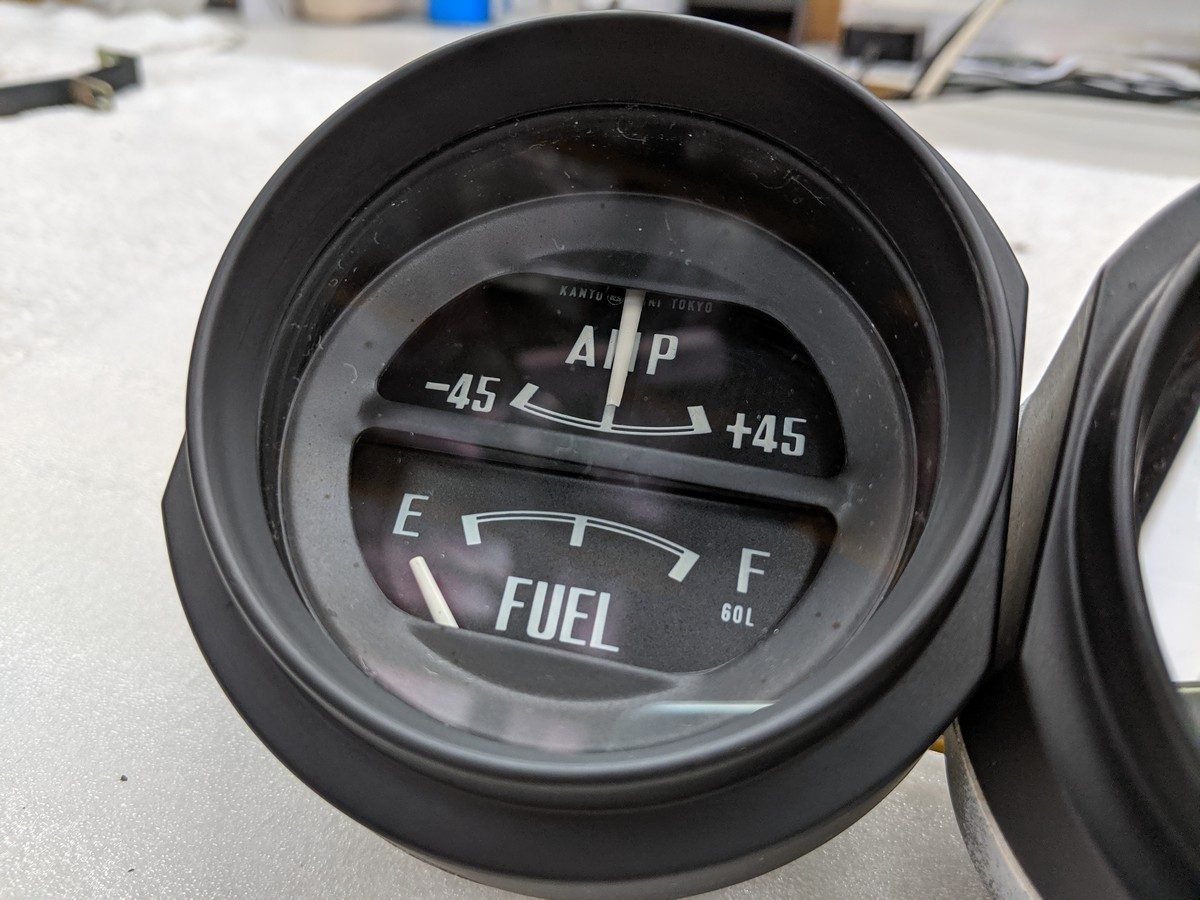
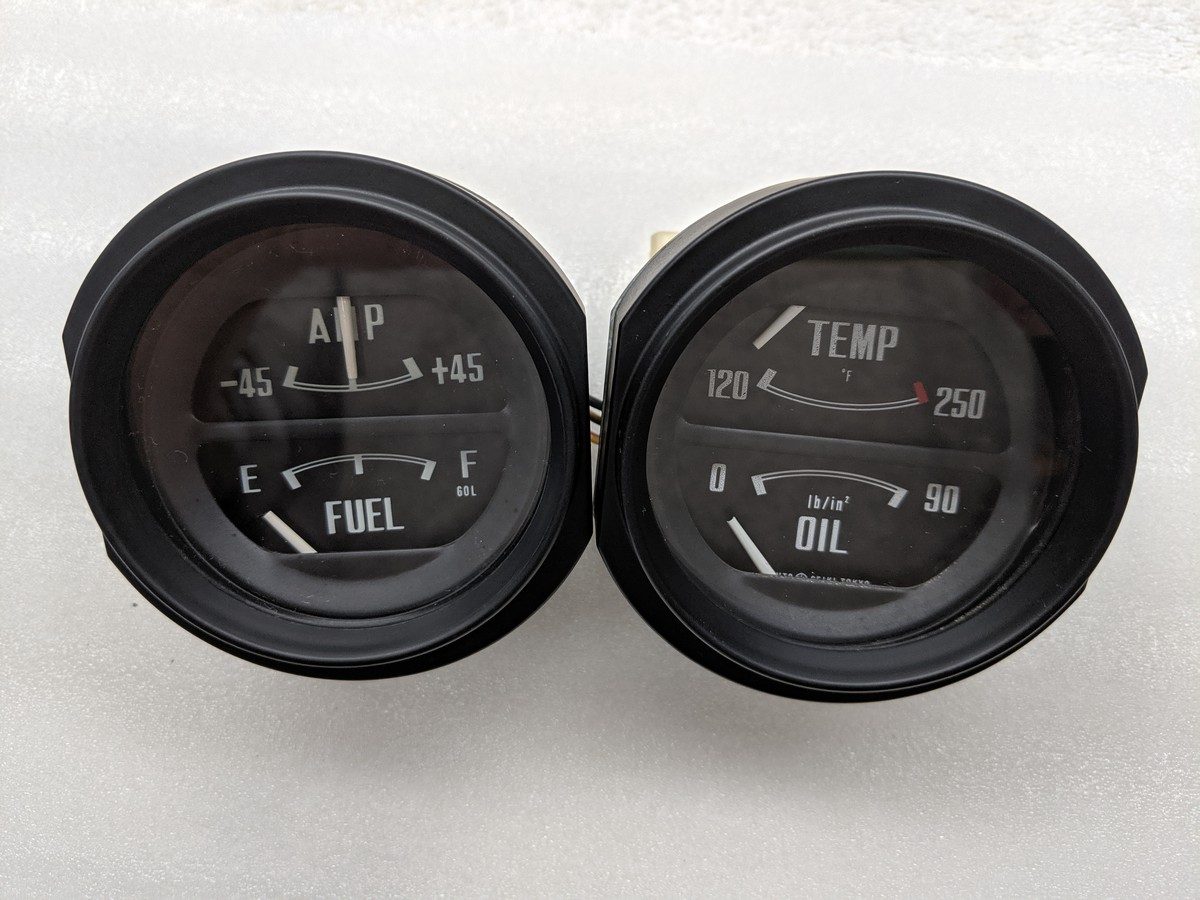
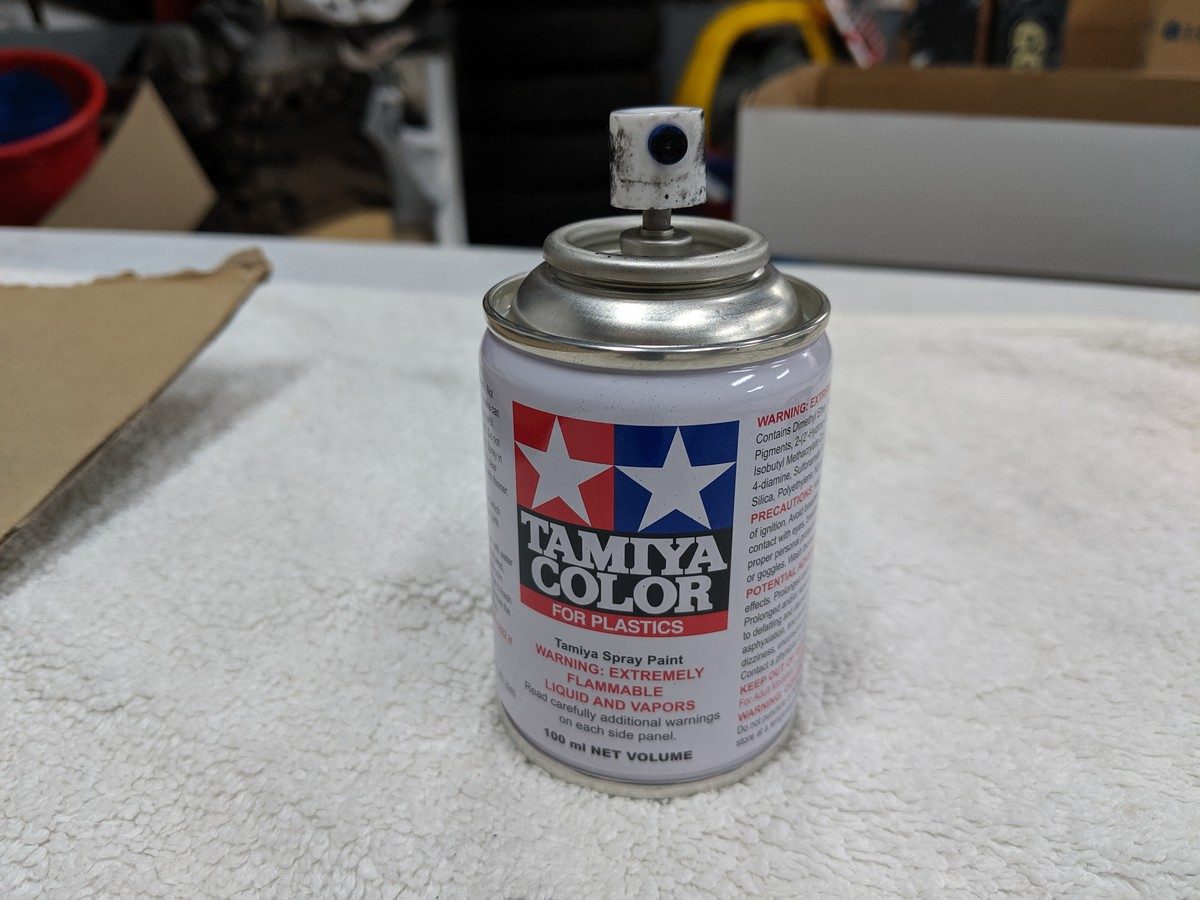
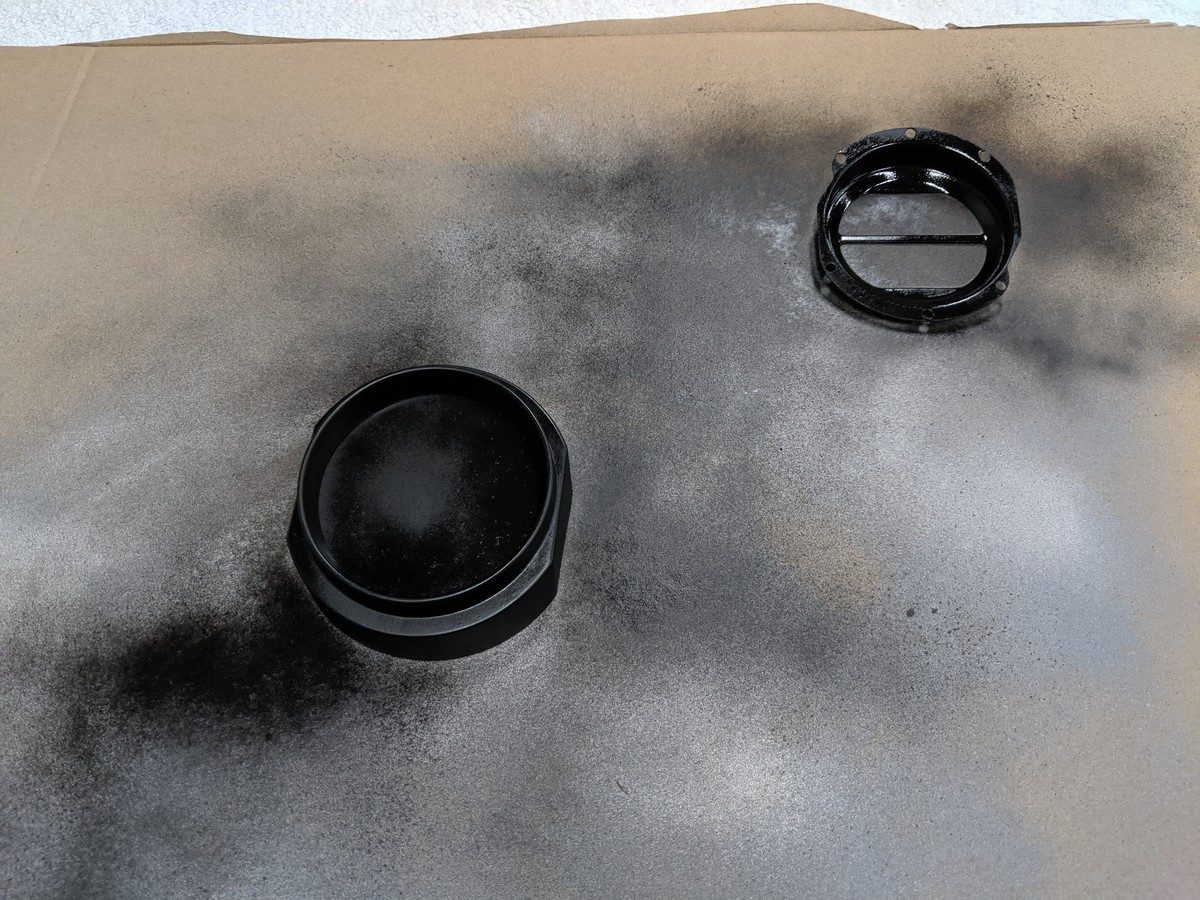
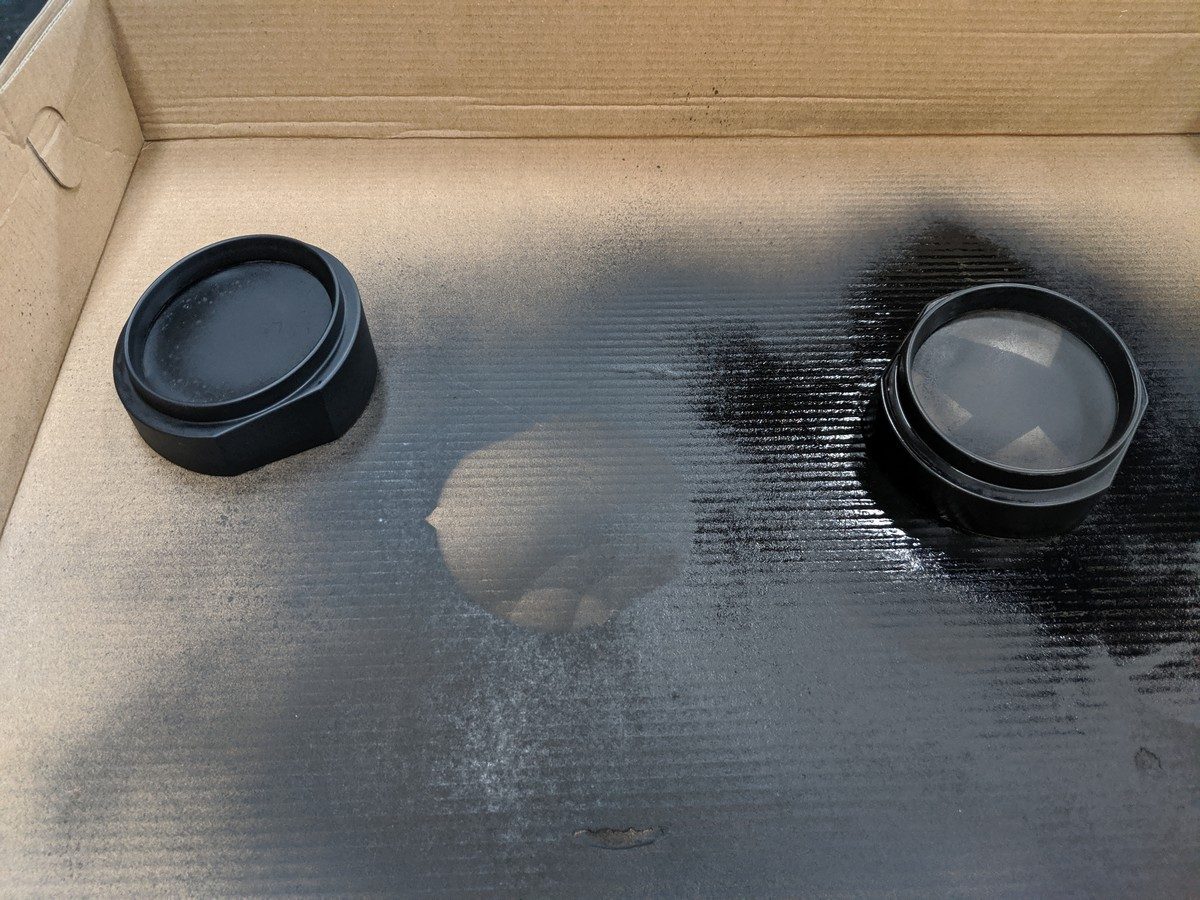
I used a Tamiya satin black paint for plastics which is much thinner. This paint impressed me and I’m sure it will come in handy for other plastics like the steering column cover.
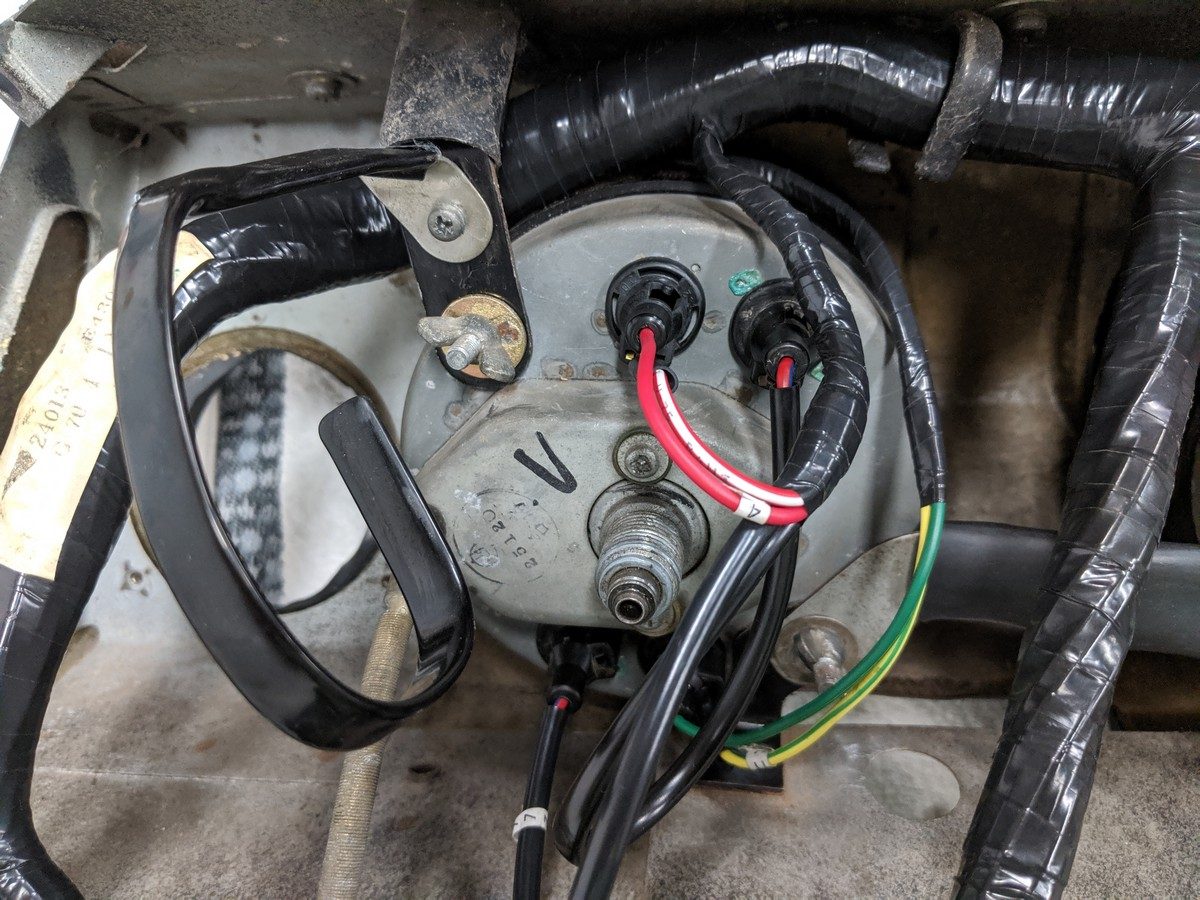
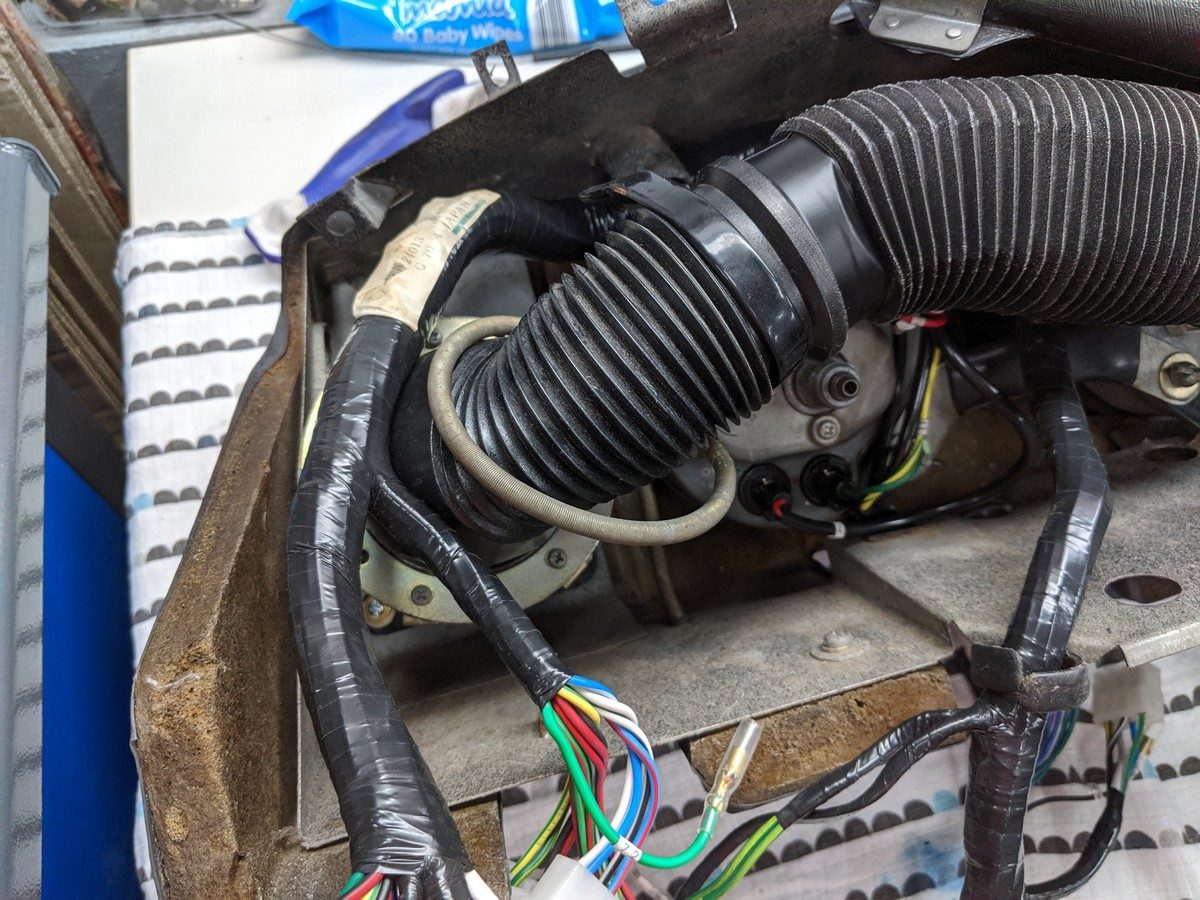
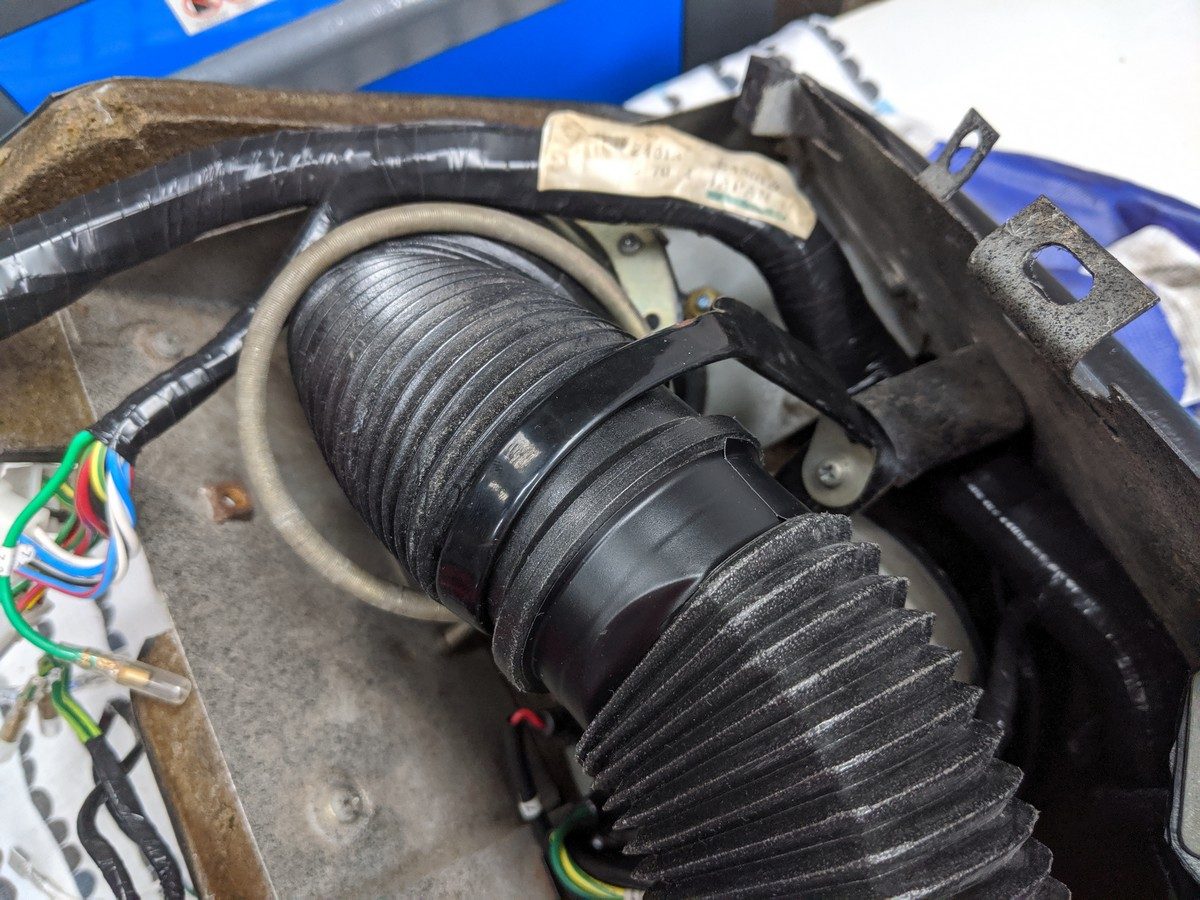
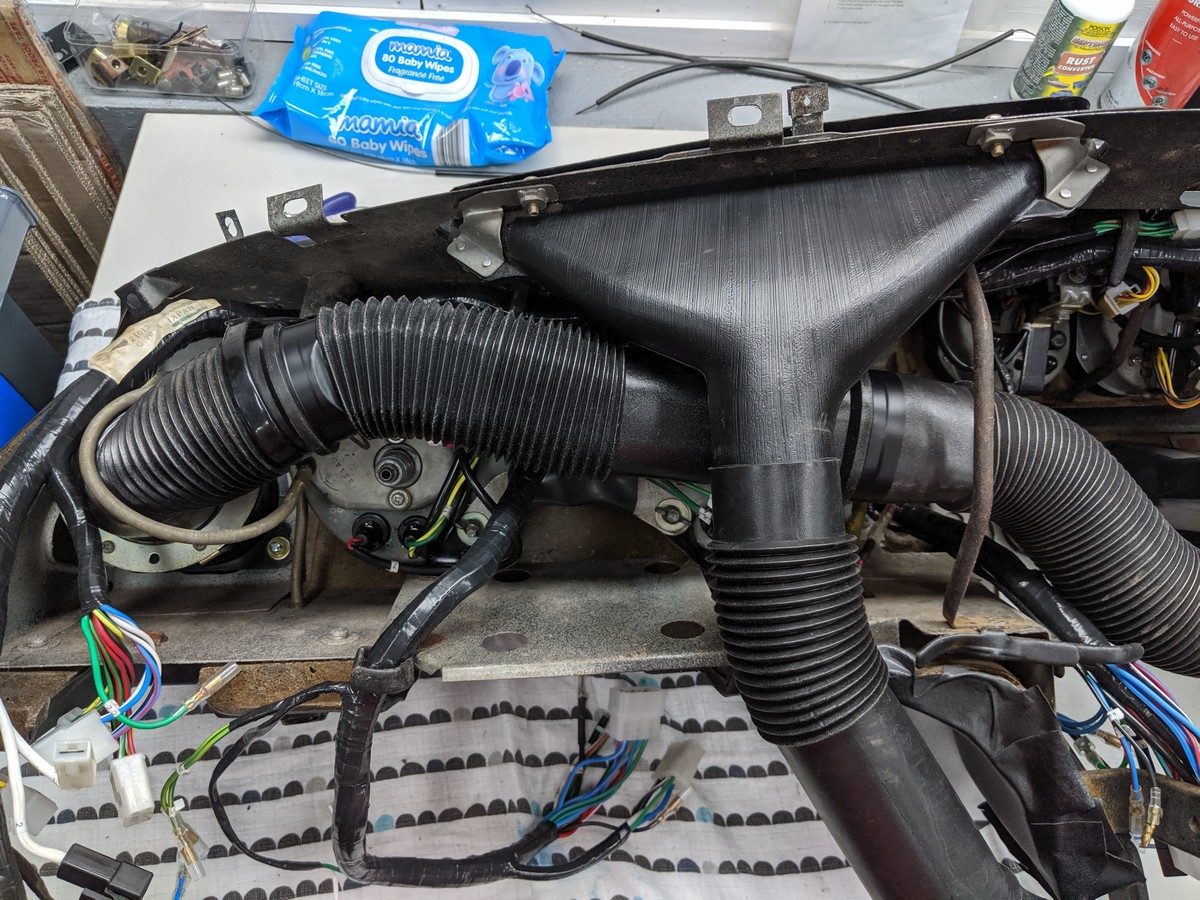
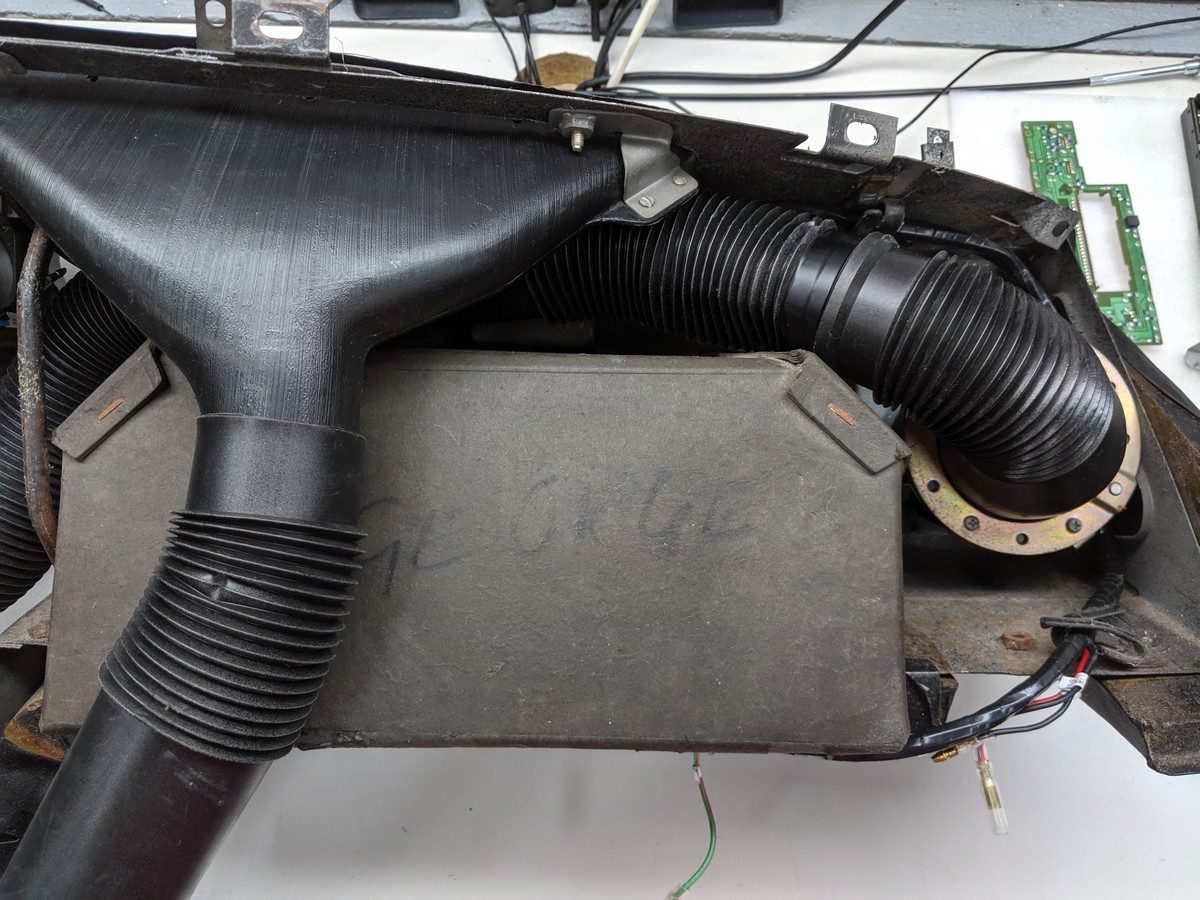
Fitting the gauges was a bit of trial and error. The dash was pretty tight so I had to apply a bit of heat and some force to get them in. The fit was very snug in the end but nothing broke so I’ll call that a win. Once I started installing the wiring harness I discovered there is a sequence to completing the dash and I had jumped the gun with the gauges first. When I thought I had it all done I had to take out the tacho one more time to fit the dimmer switch. After a nice warm bath the ducting was fitted up to complete the dash.


All said and done the dash came out looking pretty good. Since then I’ve tested the clock which I need to fit next and after I install the A pillar trim I’ll be able to test fit the dash in the car. Happy days.